2023.10.18
VOCALO CHANGER PLUGIN Installation and Authorization (Windows)
In this article, we explain how to install the VOCALO CHANGER PLUGIN for Windows after purchasing it.
1.Download VOCALO CHANGER PLUGIN files
2.Decompress the files
3.Install VOCALO CHANGER PLUGIN
4.Authentication of VOCALO CHANGER PLUGIN
5.Confirm operation with DAW software
1.Download VOCALO CHANGER PLUGIN files
Enter the "VOCALOID SHOP DOWNLOAD CODE" into the following download site. The code and the download site URL listed in the e-mail you receive after purchase.
Find "VOCALO CHANGER PLUGIN (for Windows)” in your purchase history and click the [Download] button on the right side of the screen.
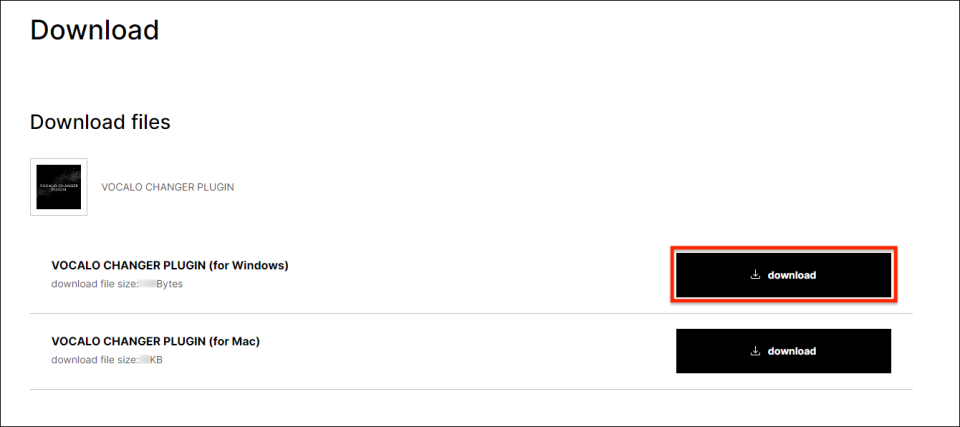
- The file size is approximately 47.3MB. We recommend downloading using a high-speed Internet environment.
- VOCALOID6 is made for PCs, so please download it on your PC.
2.Decompress the files
Open the location where the file downloaded in Step 1. The downloaded file is compressed in ZIP format and requires "unzip" to use.
- By default, the files are saved in the [Download] folder.
- File names may change depending on when they were downloaded.
- The alphanumeric characters at the end of the file name indicate the software version, which varies depending on when the file was downloaded.
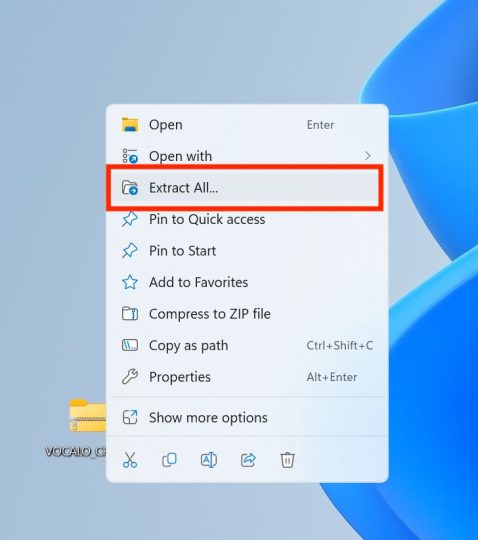
Right-click the file "VOCALO CHANGER_1.0.0.zip" in the folder and select [Extract All] to extract the file.
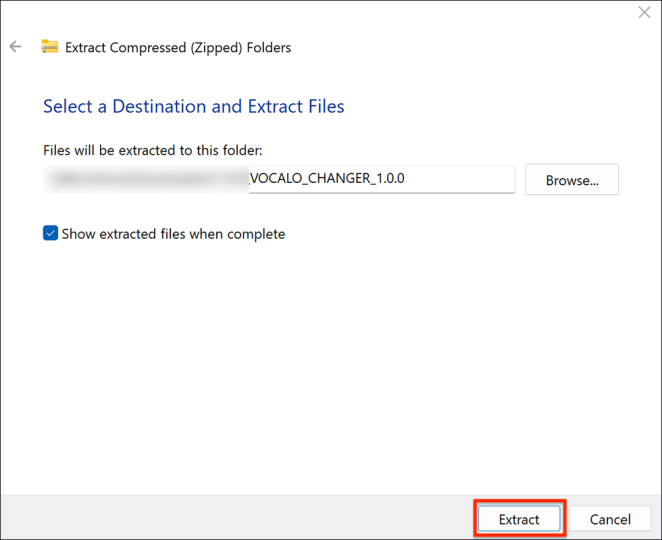
The[Extract Compressed (ZIP Format) Folder] window will appear. You can change the destination of the unzipped files, but you can leave it as it is. If you want to change the destination, select [Browse] and specify the destination.
Once the destination has been set, click on the [Extract].
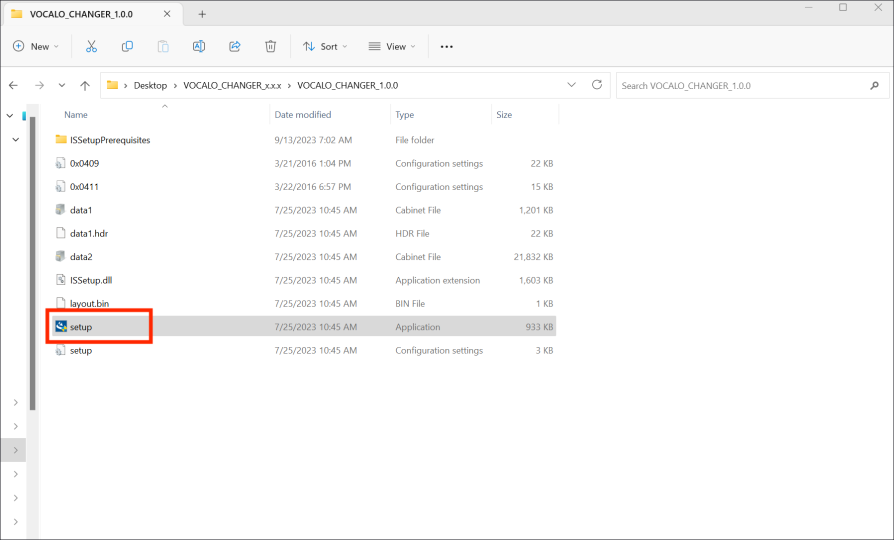
After unzipping, a folder named "VOCALO_CHANGER_x.x.x" will be created/displayed. You can find an app which named "setup(.exe)", this is the installer app for VOCALO CHANGER PLUGIN.
*The software for installing a software is called an "installer".
3.Install VOCALO CHANGER PLUGIN
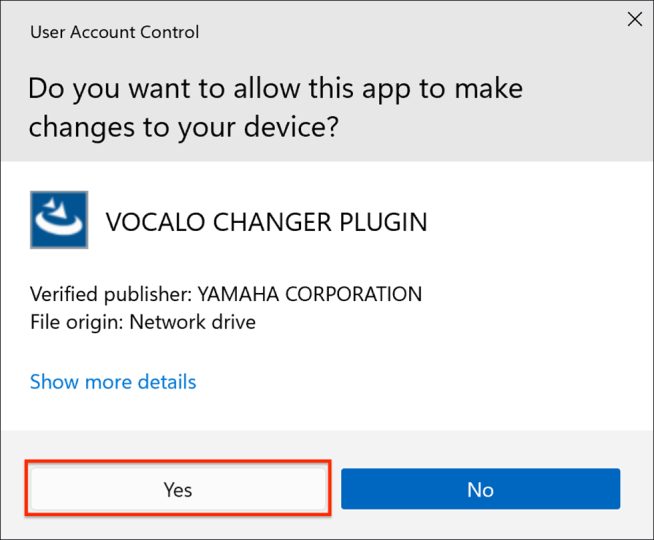
Install VOCALO CHANGER PLUGIN. Double-click the VOCALO CHANGER PLUGIN installer "setup(.exe)" to start it, and the following confirmation message will appear. Click [Yes].
Select the language to be used in the installation. Select any language and click [OK].

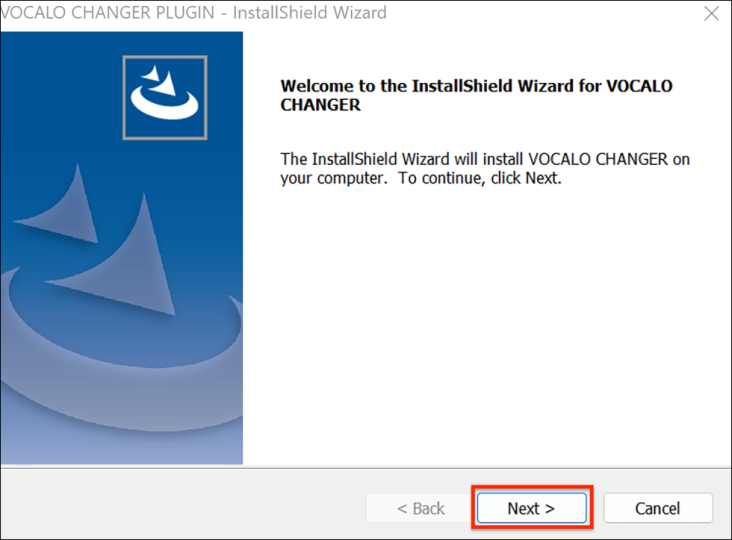
The installer has started. Click [Next].
The "VOCALO CHANGER Product END USER LICENSE AGREEMENT" will appear. This agreement is the one that appears in any computer software. It describes what the user of the software must abide by.
Please read the contents and click [Next].

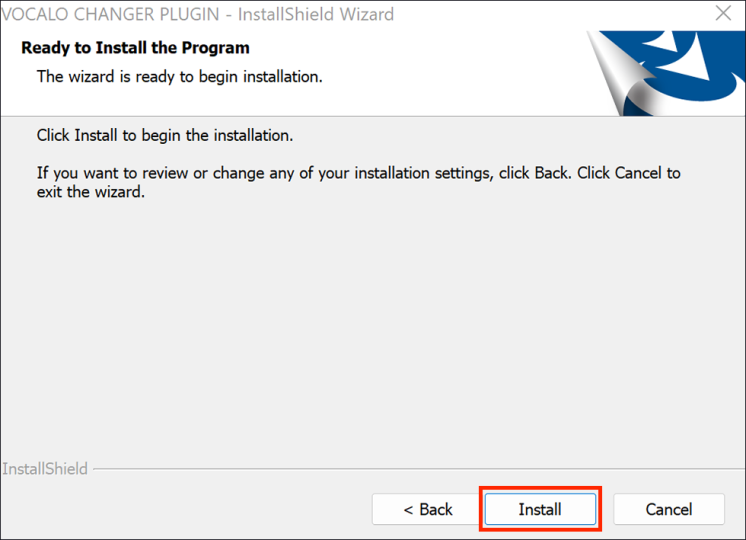
Select [Install]. The installation will begin. Please keep the screen open and wait until the installation finishes. Please pay attention to the battery level.
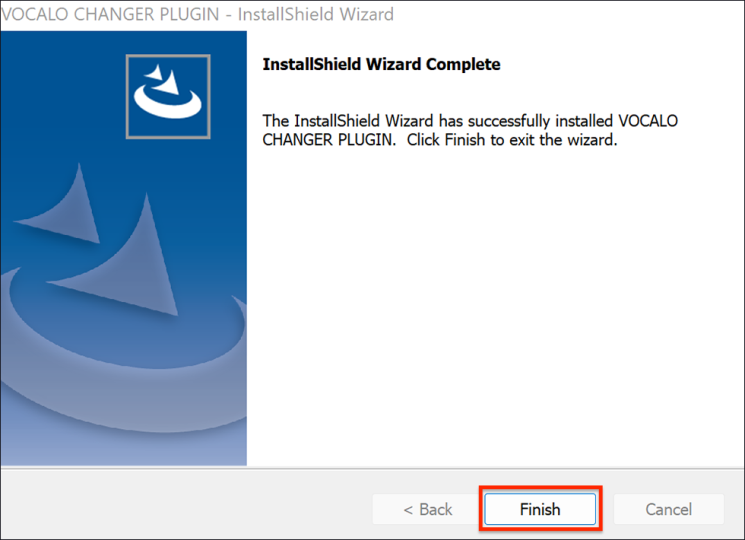
The installation has completed when the following screen is displayed. Select [Finish] to finish the installation process.
4.Authentication of VOCALO CHANGER PLUGIN
After completing installation, authenticate the product.
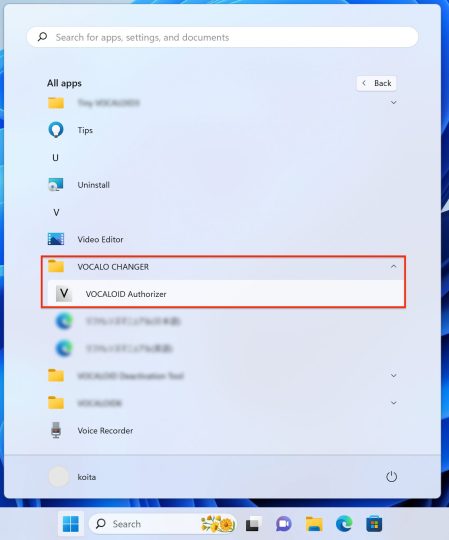
Open the Windows Start menu and launch “VOCALOID Authorizer” from the all apps>VOCALO CHANGER.
This software is automatically installed when VOCALO CHANGER PLUGIN is installed. If you cannot find it, input “VOCALOID” in the Search window and search for it.
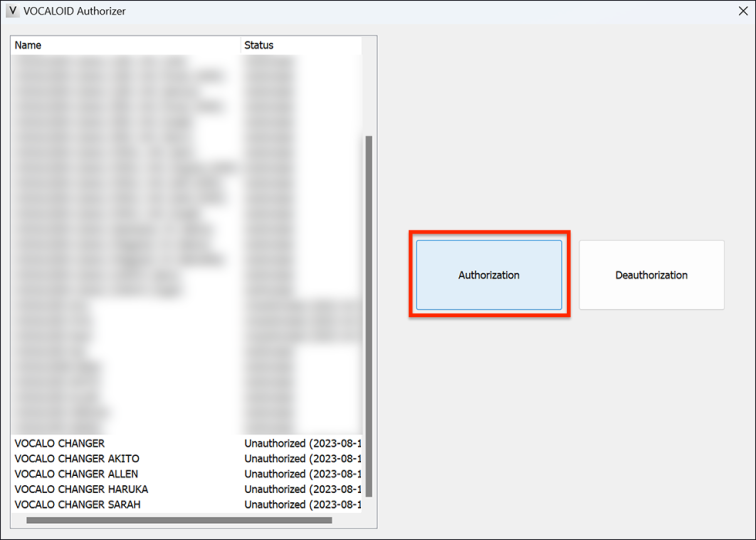
Select [Authorization].
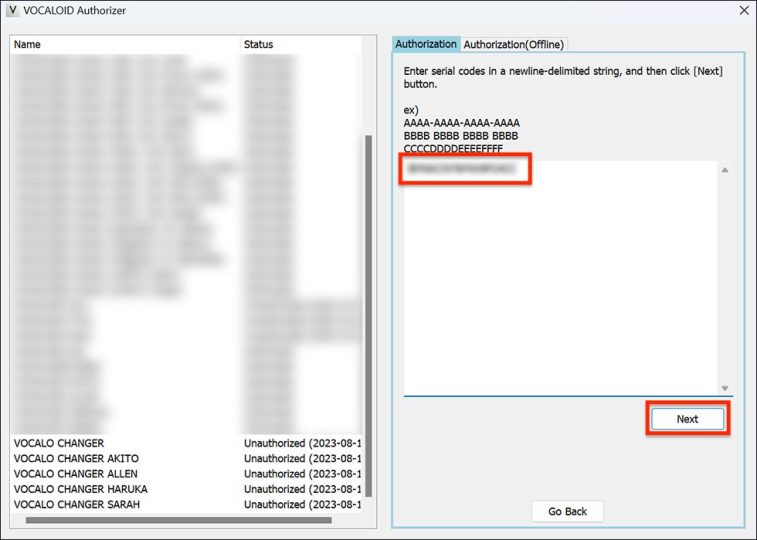
Enter the Serial code issued at the time of purchase in the [Authorization] area on the right side of the screen and select [Next].
- Serial codes can be found in order confirmation e-mails received when purchasing downloads at the VOCALOID SHOP.
- Internet connection environment is required for authorization.
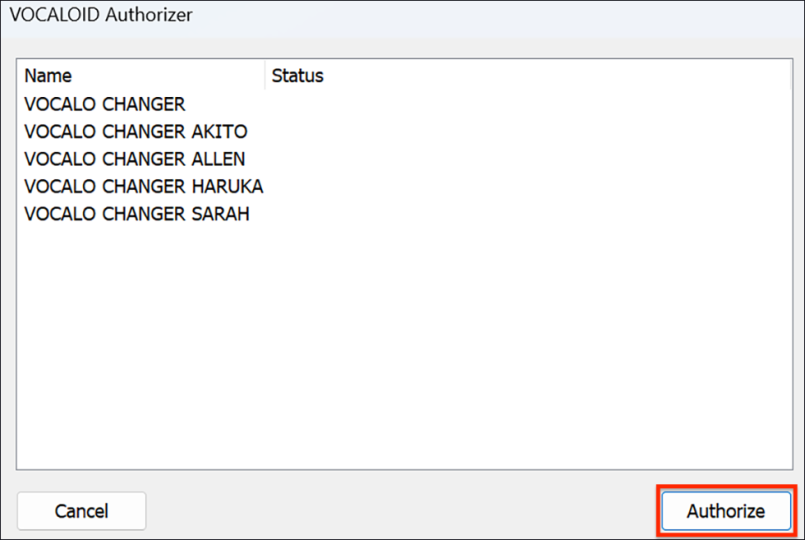
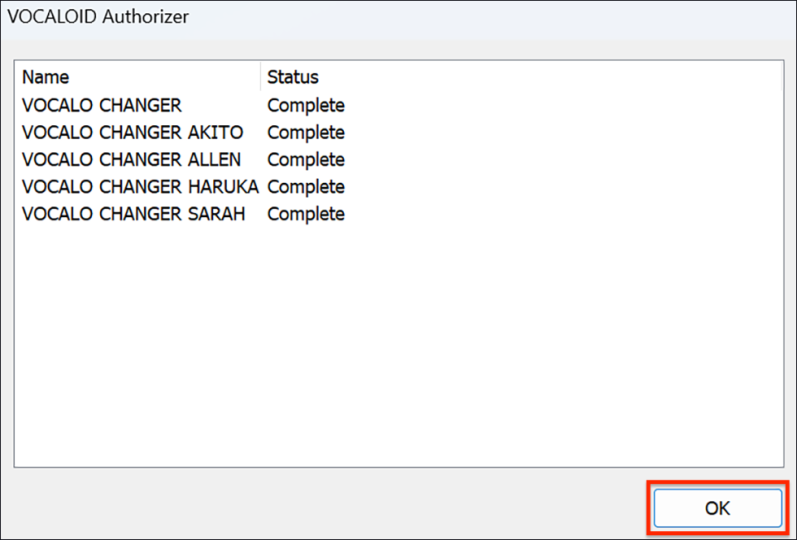
The VOCALO CHANGER PLUGIN and the voice banks that are being authorized are shown automatically. Click the “Authorize” button.
Authorization is complete when a screen showing success appears as below. Click the “OK” button.
5.Confirm operation with DAW software
After completing installation and authorization, try using VOCALO CHANGER PLUGIN in DAW software. VOCALO CHANGER PLUGIN supports VST formats, so it can be used with major DAWs.
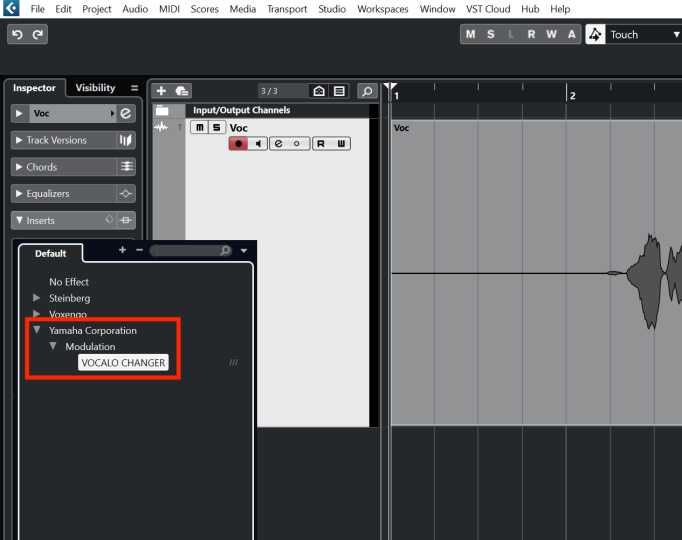
Create an audio track in the DAW and insert VOCALO CHANGER PLUGIN on it.
*Please check the manual for the DAW being used for instructions about using plug-in effects.
Play any vocal file on the track where the VOCALO CHANGER PLUGIN is inserted to transform it and output it as a VOCALOID voice.
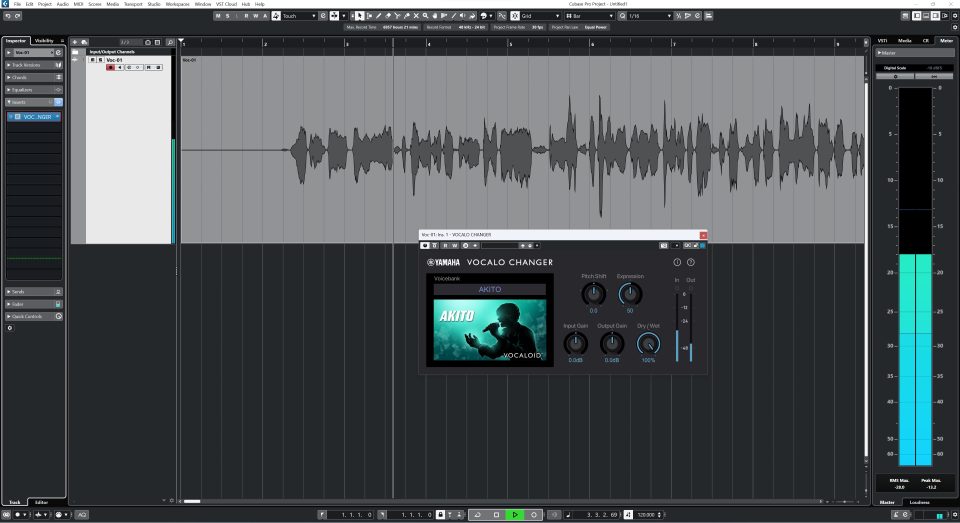
If operation can be confirmed, all installation tasks are complete. Please enjoy using VOCALO CHANGER PLUGIN!