2022.09.22
VOCALOID6 Setup guide for Ableton Live series
This article will explain how to use VOCALOID6 in Live 11 (hereafter referred to as "Live") project. If you use VOCALOID6 in a Live project, you can also record VOCALOID6 information in the Live project.
*Ableton LIve series doesn't support ARA2 (Audio Random Access 2) function. Transport (playback/stop etc.) of VOCALOID6 are not linked with Ableton Live set.
*This article uses images from the Windows version, but the Mac version looks almost the same. If you are using the Mac computer, please use this article as a reference for the settings.
1. Start Live and create a Live Set
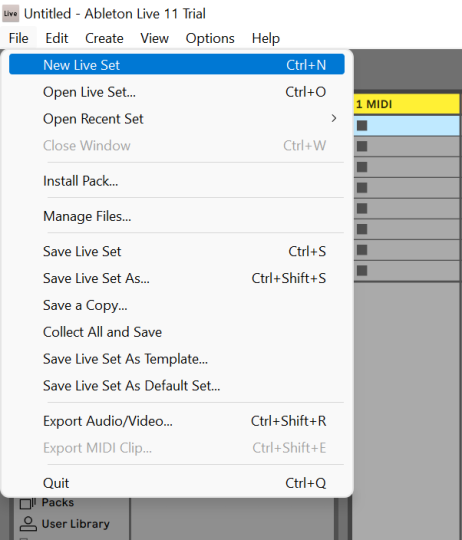
Start Live and create an empty Live Set.
* An empty Live Set is automatically created at startup. To create manually, select [File > Create New Live Set].
2. Assign VOCALOID to the MIDI track
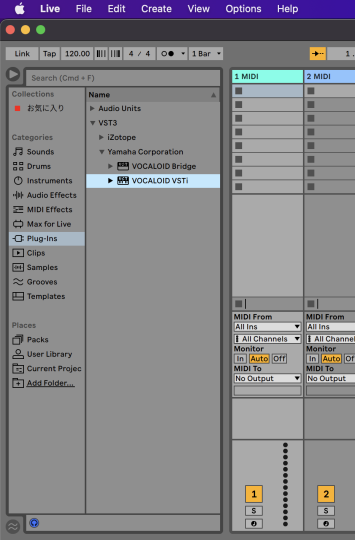
Click the [Plug-ins] item from the browser, select [Yamaha Corporation > VOCALOID VSTi], and double-click.
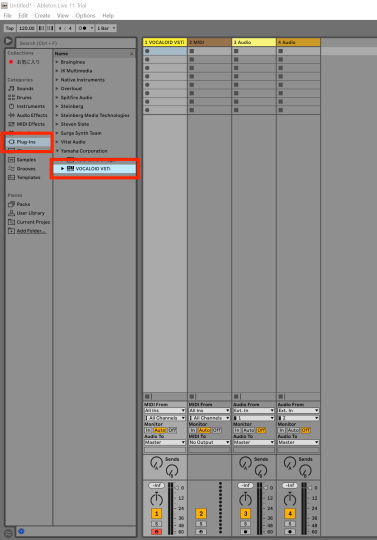
*For Mac users, you can use either VST3 or Audio Units. The VST3 version is displayed as [VOCALOID VSTi] and the Audio Units version as [VOCALOID AU].
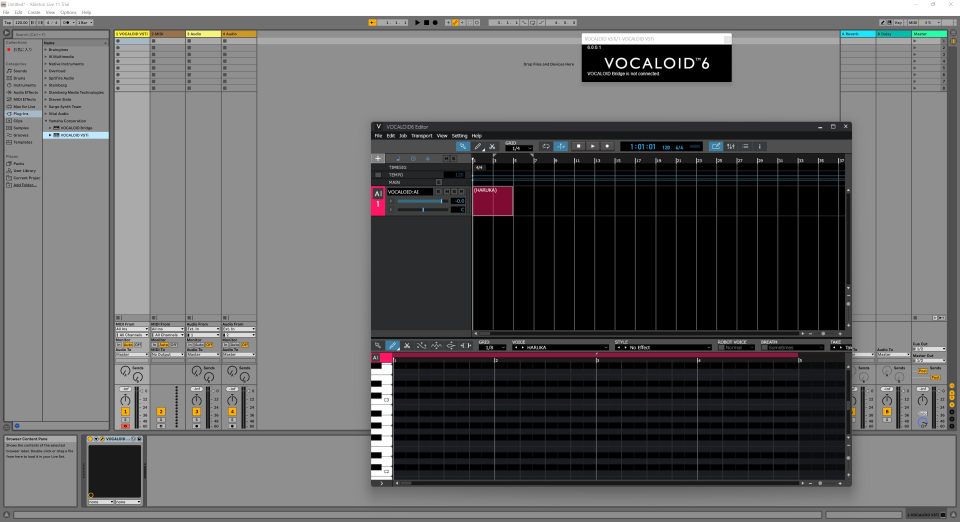
The MIDI track has been created in Live, and VOCALOID has been successfully started.
Let's input a singing data into the VOCALOID screen in Live.
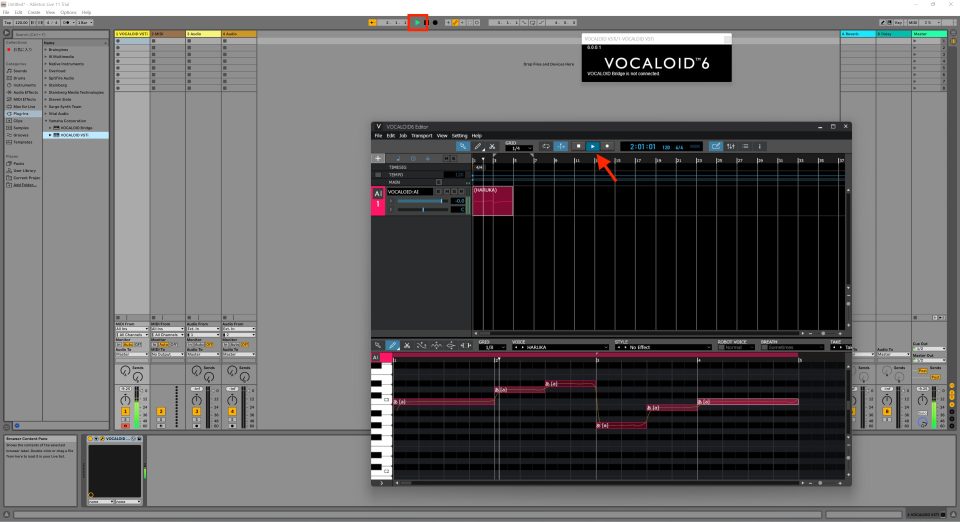
3. Confirm operation
Let's check if VOCALOID and Live are working properly.
Play and stop project by clicking the [Play] button in Live. Live will play and stop in conjunction with Live.
* The Playback of Live will not be synchronized by clicking VOCALOID [Play] button. Also, regardless of the song position "Playback position" on VOLALOID, it will be played from the song position in Live.
The settings for VOCALOID has been completed in Live.