2022.10.13
“Let’s have fun with VOCALOID!” vol.1 -Launch VOCALOID and data input-
Hello everyone! Thank you for reading "Let's have fun with VOCALOID!"
In this article you can learn about VOCALOID using a song called "Chorus of Frogs." We will make a VOCALOID version of this song, which everyone knows in Japan.
You can follow along without any musical knowledge, so please try it with me.
You can download VOCALOID6 Free Trial Version!
Please check an article which includes explanation for Installation and Authorization of VOCALOID6 free trial version.
You can download VOCALOID Editor file(vpr format) that completed to enter the data based on this article. Click the button below.
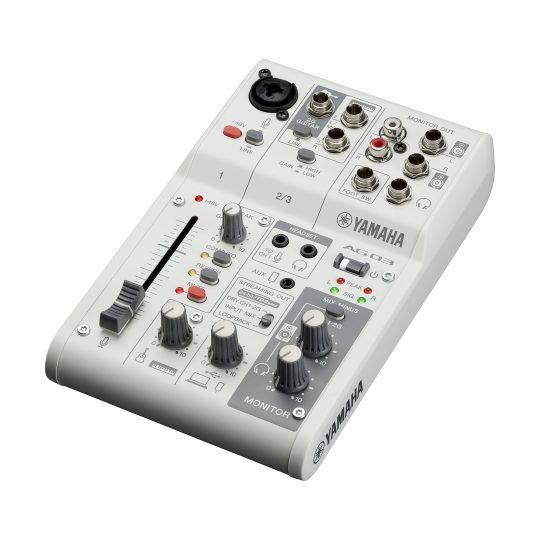
Make sure you can hear the sound from the computer
Set up the computer before using the VOCALOID software.
VOCALOID is a computer application, so you need to be able to hear sound from the computer. Connect headphones or another output device to your computer.
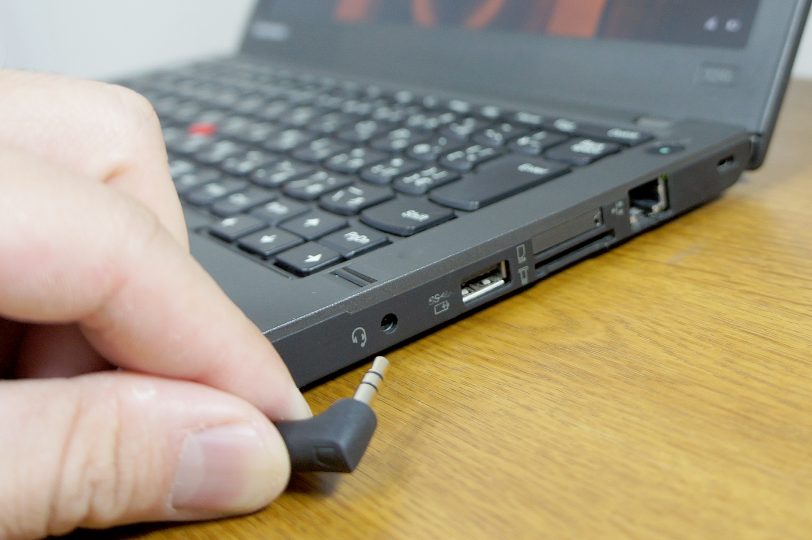
Alternatively, connect an audio interface or other audio output device to the computer and check the output.
It is working if you can hear the sound of this video.
Launch VOCALOID
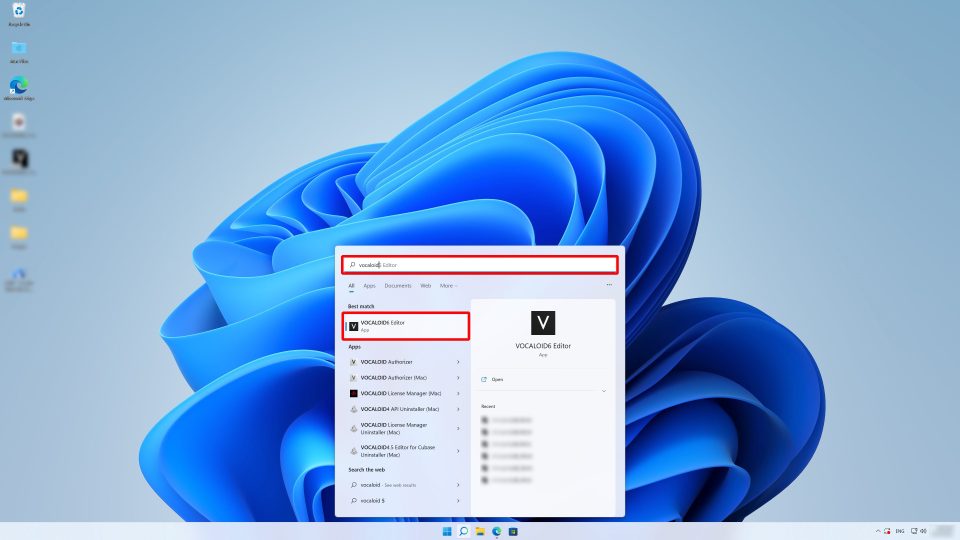
Let's start VOCALOID6 Editor.
Find VOCALOID6 Editor from the Windows start menu and launch it.
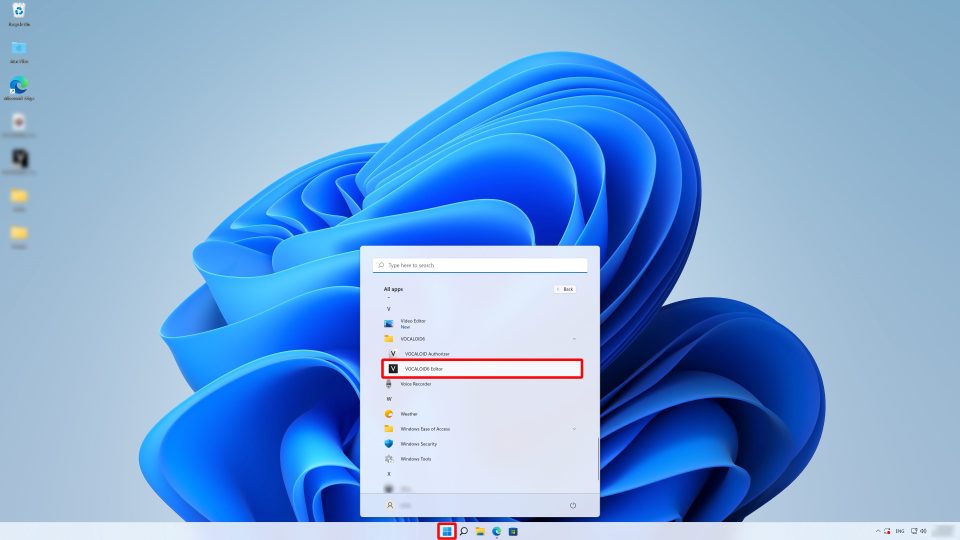
If you can't find it, enter "VOCALOID" in the search window to locate it.
The start screen will appear when you launch VOCALOID6 Editor.
You can choose "NEW PROJECT" or "OPEN". Select "NEW PROJECT" this time.
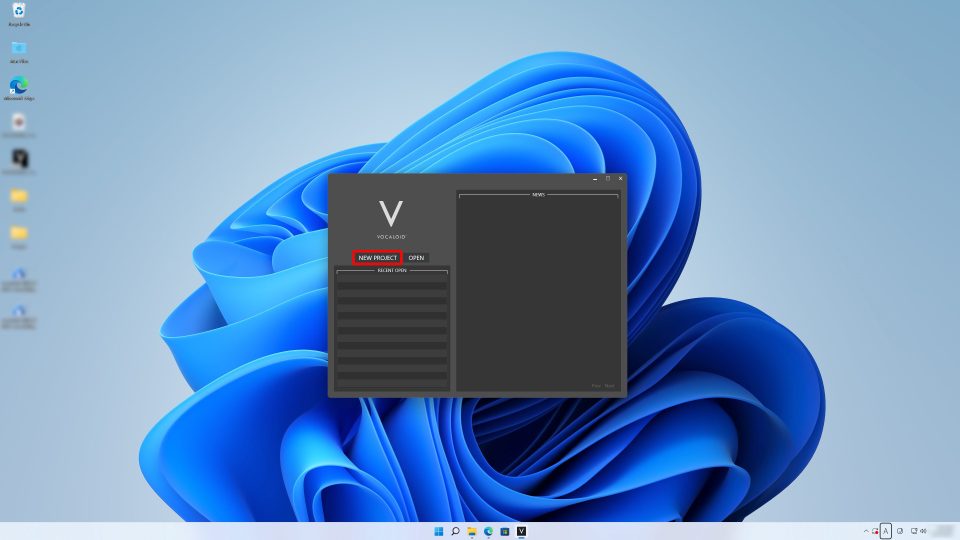
In VOCALOID6 Editor, one song is called a "project". Song data is called a "project". Select "NEW PROJECT" to start making a new song.
Basic Structure of VOCALOID
Before starting production, we need to understand the basic structure of VOCALOID applications.
The "VOCALOID editor" app is used for data input in combination with "Voicebanks" that contain voice data. VOCALOID Editor can output a voice after installing a Voicebank.
Details about installation are in another article.
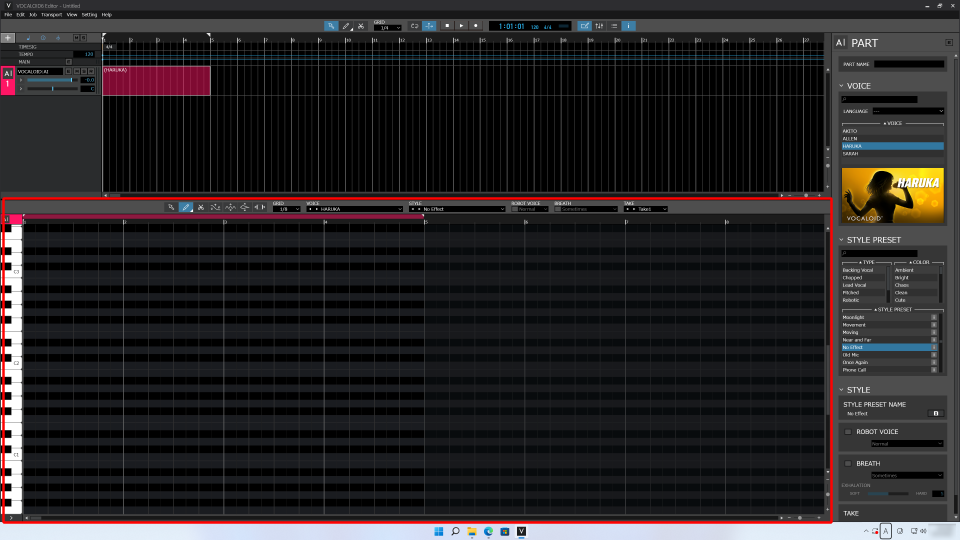
Let's open the Inspector.
The Inspector section is useful when using VOCALOID Editor. Press the "i" (Inspector) button at the upper right of the screen to open the Inspector.
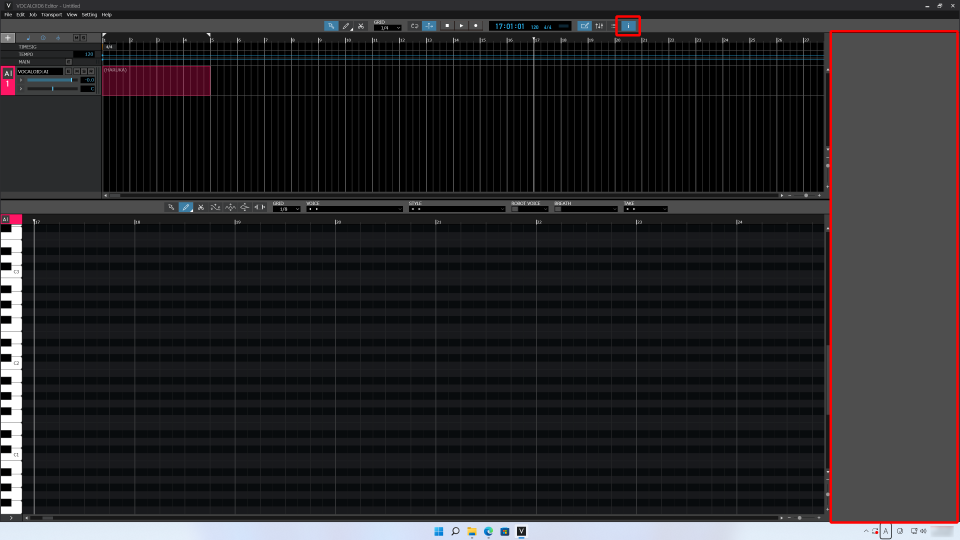
The Inspector section shows information about the selected data, allowing you to see its current state.
You will naturally learn the parameters if you always check the Inspector while using VOCALOID Editor. Keep the Inspector open as you proceed with this production.
Let's play the keyboard to output sound
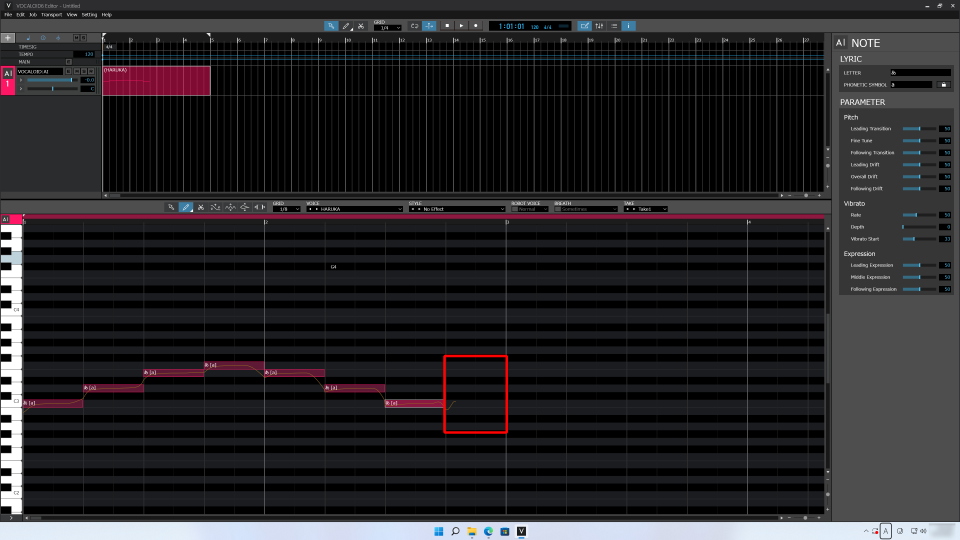
First, click the light red square, which is called a "Part" in VOCALOID Editor.
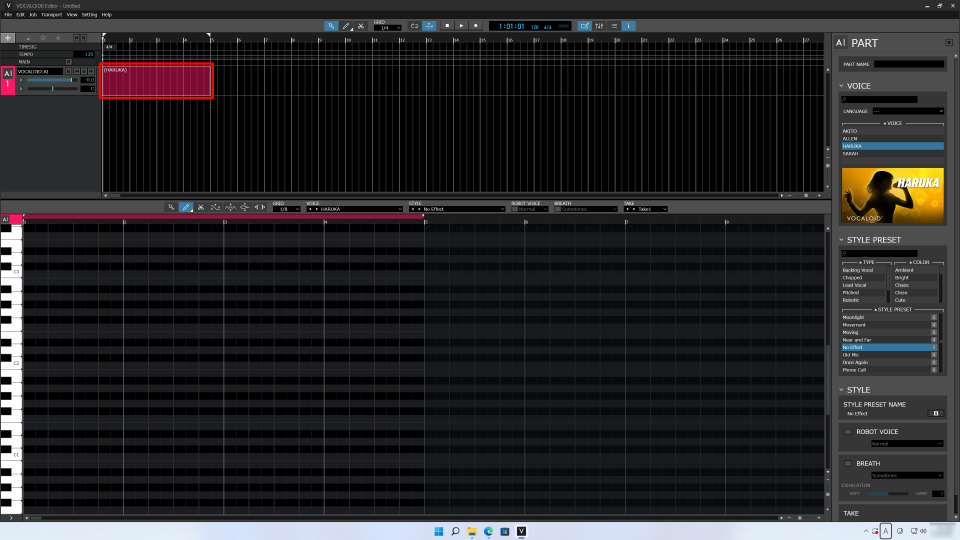
When clicked, the Inspector changes to show information about the selected part.
One horizontal row is called a "track" in VOCALOID Editor. The horizontal rows are often called "tracks" in music production software so this is good to remember.
The section at the bottom of the screen called the "MUSICAL EDITOR" has a keyboard on the left and a grid on the right.
Use the Musical Editor to input data. The work of entering data in VOCALOID editor is called "input". In music production, the process of entering music data is called "input".
Press the C3 key on the keyboard. C is the "do" in "do-re-mi".
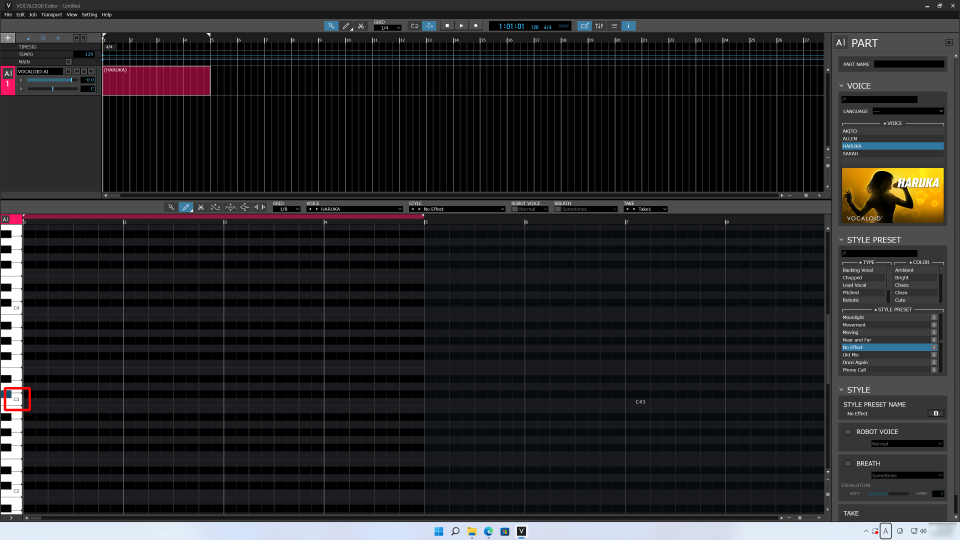
The Voicebank will output VOCALOID sound for the pressed the key. We have confirmed VOCALOID sound output. Now we will make a "Chorus of Frogs."
Before input "Chorus of frogs," let's take a look at the score so we can recall the melody.
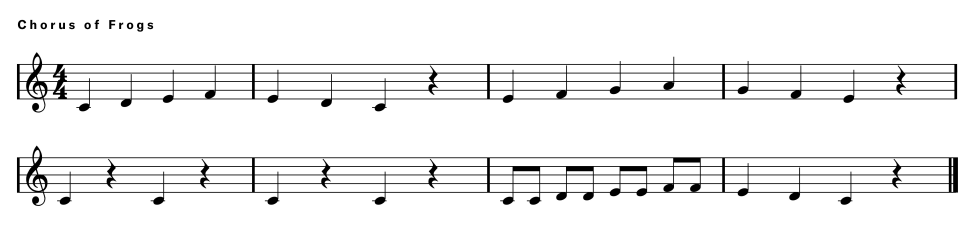
Do you recall having ever heard it?
Let's play the melody "C-D-E-F-E-D-C" using the keyboard. Use the slider to adjust the position as needed. Press "C-D-E-F-E-D-C" on the keyboard.
In this way, you can click with a mouse and play, but it's hard. Let's enter the data so that VOCALOID plays the same performance as many times as we want.
Let's enter the data
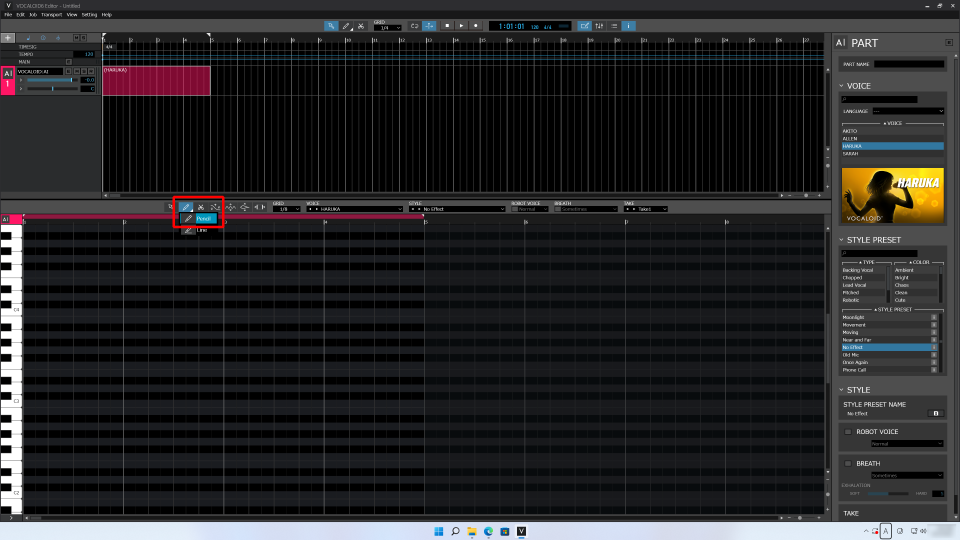
Select the Pencil Tool.
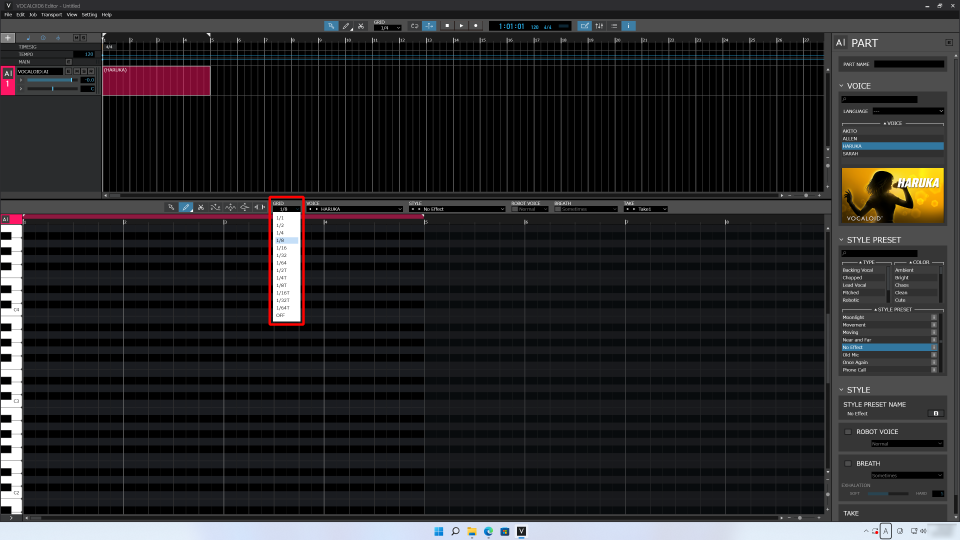
Near the Pencil Tool, it says "GRID 1/8". This shows that the precision of VOCALOID editor input is an eighth-note. If it is not "1/8", select "1/8" from the pull-down menu.
We are ready, so let's enter the melody using the Pencil Tool. For a while from the beginning, the melody uses quarter notes.
With "GRID" set to "1/8", each square is the length of an eighth note, so two squares make a quarter note. Therefore, when you want to enter a quarter note, enter a note that is two squares long.
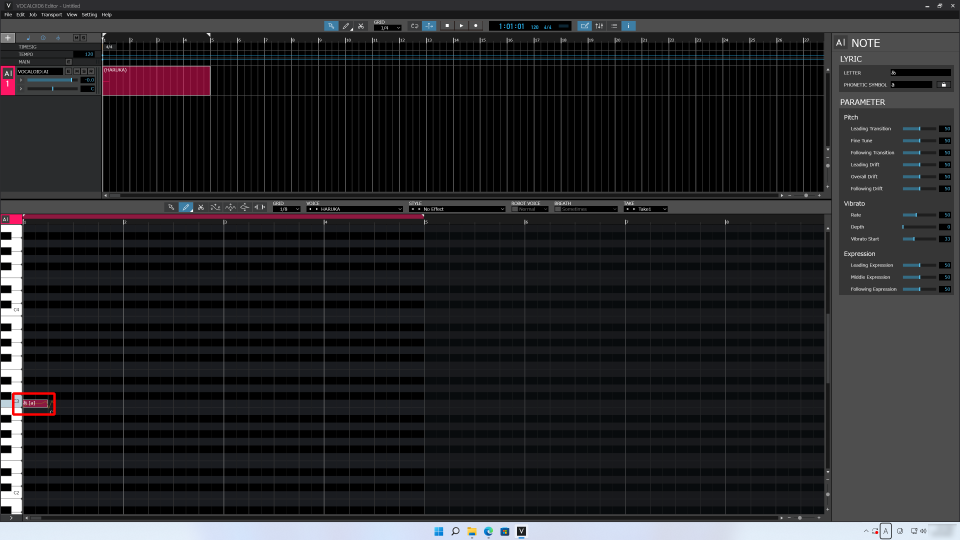
Click and drag a square in C with the Pencil Tool to input and lengthen the note.
Next, let's input the melody of "C-D-E-F-E-D-C".
If you want to change the size the MUSICAL EDITOR is shown, use the "+" marks in its lower right corner. Alternatively, you can use the sliders to change the display size.
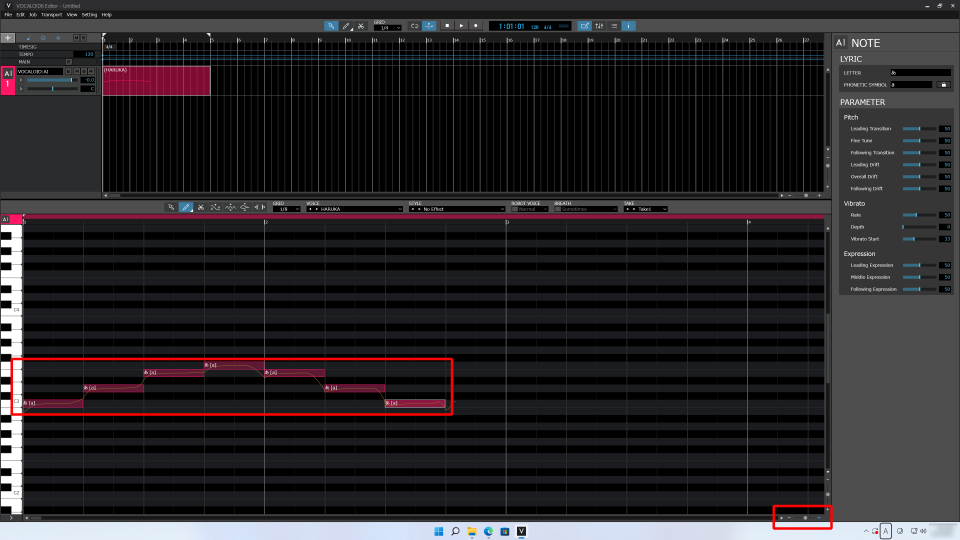
After entering "C-D-E-F-E-D-C", the melody has a quarter note rest at the end. This is a break the length of a quarter note, so you don't have to enter anything here. If nothing is entered, it will be a rest note.
One phrase has been entered, so let's play it from the beginning.
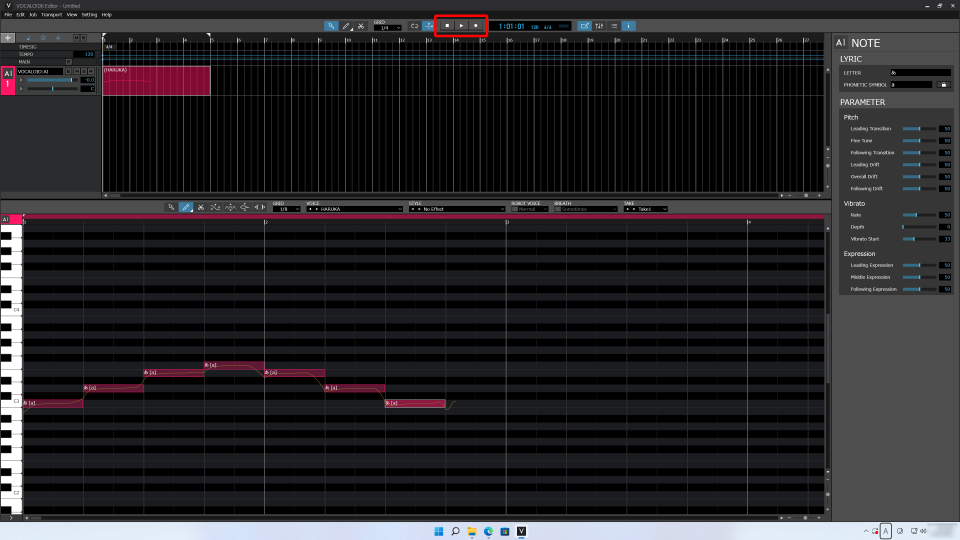
Press the ■ (stop) button at the top of the control section when already stopped to return to the beginning of the project. When stopped, press the ▶ (play) button or the space bar on the keyboard to start playback. Start playback with the ▶ (play) button or the space bar.
There is sound! The VOCALOID sang the notes as entered.
You probably heard that it sang smoothly even without detailed adjustments. This is the VOCALOID sound produced by the VOCALOID AI, which is new in VOCALOID6.
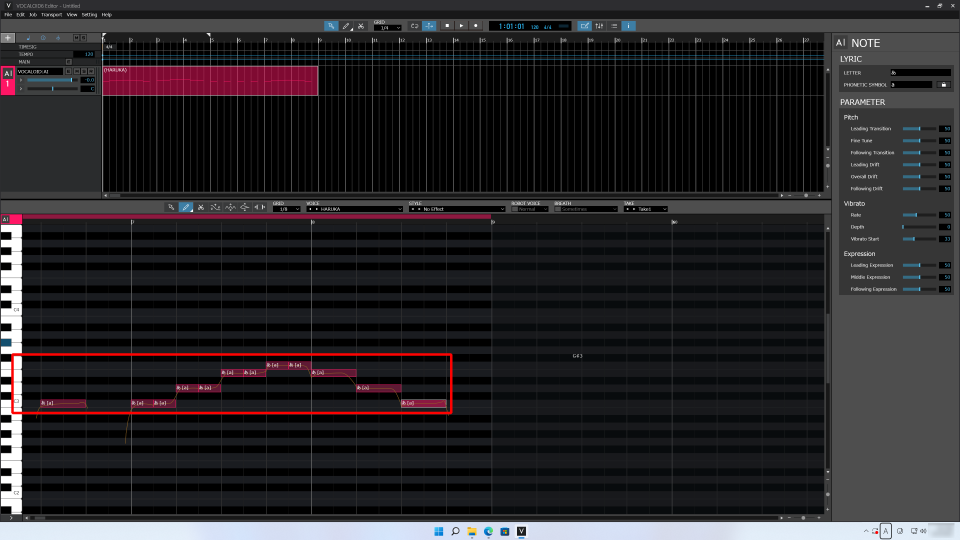
Let's input the rest of the melody
Let's input the rest of the melody.
The next part of the melody is "E-F-G-A-G-F-E". Input it in the same way. Select the Pencil Tool and start from E.
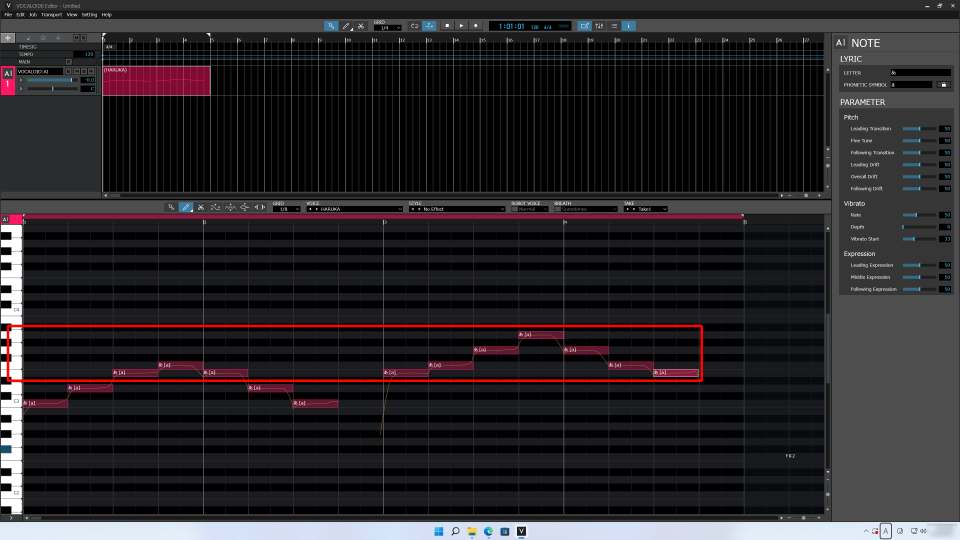
From here on, the rhythm changes.
The new rhythm is "C-rest-C-rest-C-rest-C-rest." Sounds and rests alternate, and they are all quarter notes. The pitch of all the notes is C.
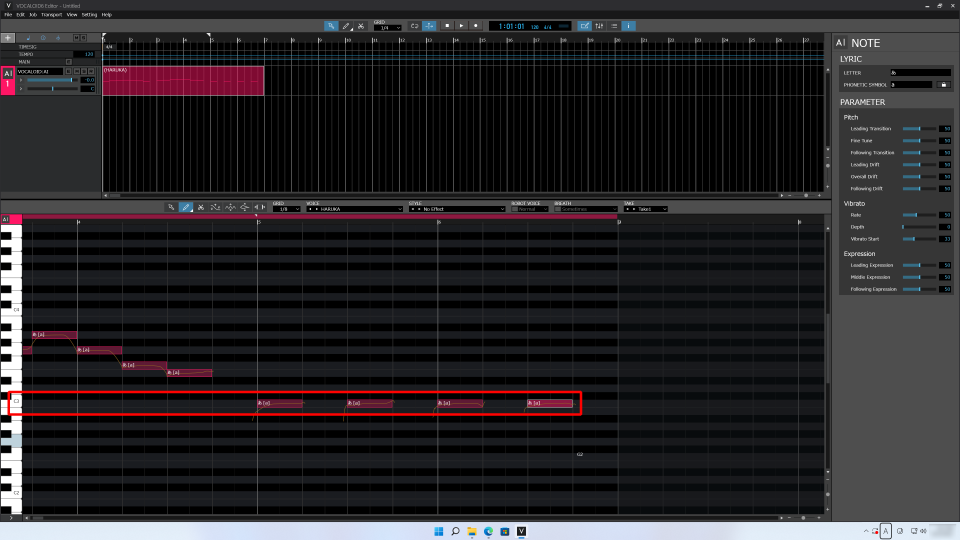
The next part changes rhythm again. Instead of quarter notes, eighth notes are used.
An eighth note is a half the length of a quarter note. We entered quarter notes using 2 squares, but an eighth note is 1 square. Let's enter "C-C-D-D-E-E-F-F". In this section, all notes are eighth notes, so they input as half the length of quarter notes. E-D-C is quarter notes.
We entered the melody to the end, so let's listen to it from the beginning. Will it be sung properly?
Press the ■ (stop) button to return to the beginning, and press the ▶ (play) button or the space bar to start playback.
Let's input the lyrics
We input the "Chorus of frogs" melody, but the lyrics were just "ah" repeatedly, making it a little dull. Let's enter the lyric data for the input notes.
We will input note "do-re-mi" names as the lyrics. ("do-re-mi" in Japanese means "C-D-E" in English)
Select the first note, right-click, select "Insert lyrics".
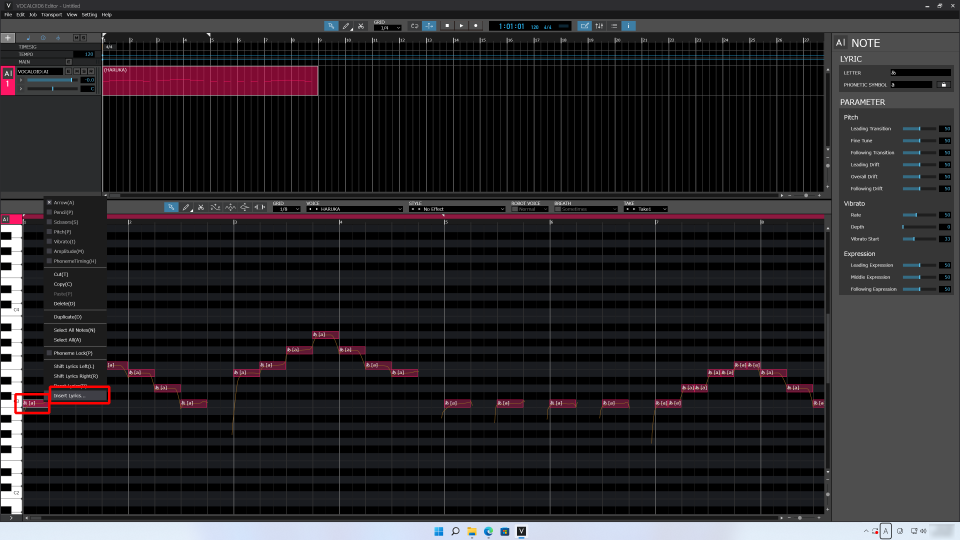
This opens the "Insert Lyrics" window.
Entering lyrics into the "Insert Lyrics" window will automatically assign them to notes. Let's try entering the lyrics. C-D-E-F-E-D-C. (I use do-re-mi in Japanese katakana, but you can use note names in English.)
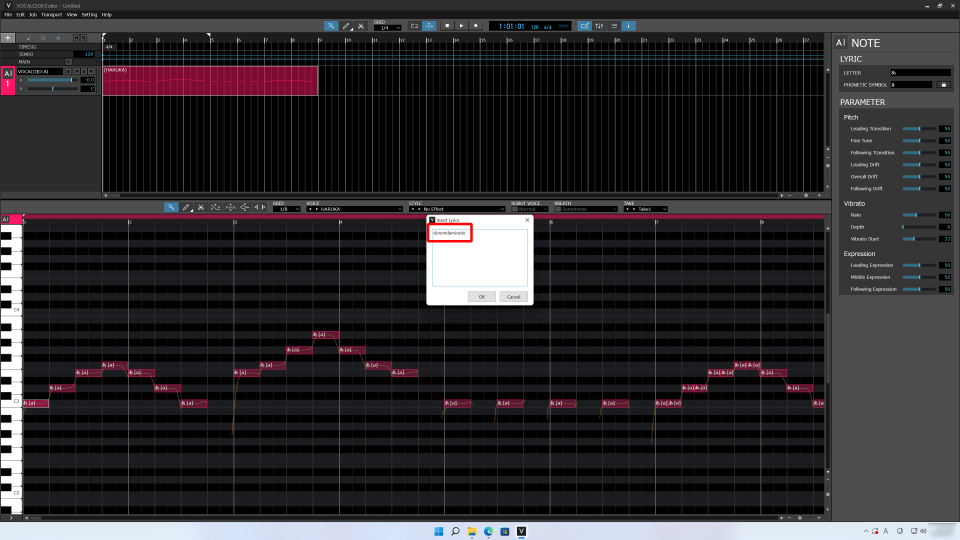
I entered one line. Let's enter a line break and input the next lyrics. If the number of characters already matches, you don't need to enter a line break. The next lyrics are "E-F-G-A-G-F-E".
Next is "C" repeated 4 times. There is no need to enter lyrics for the rest note. Skip rest notes when entering lyrics.
The last lyrics are "C-C-D-D-E-E-F-F-E-D-C". When you finish input, press the "OK" button.
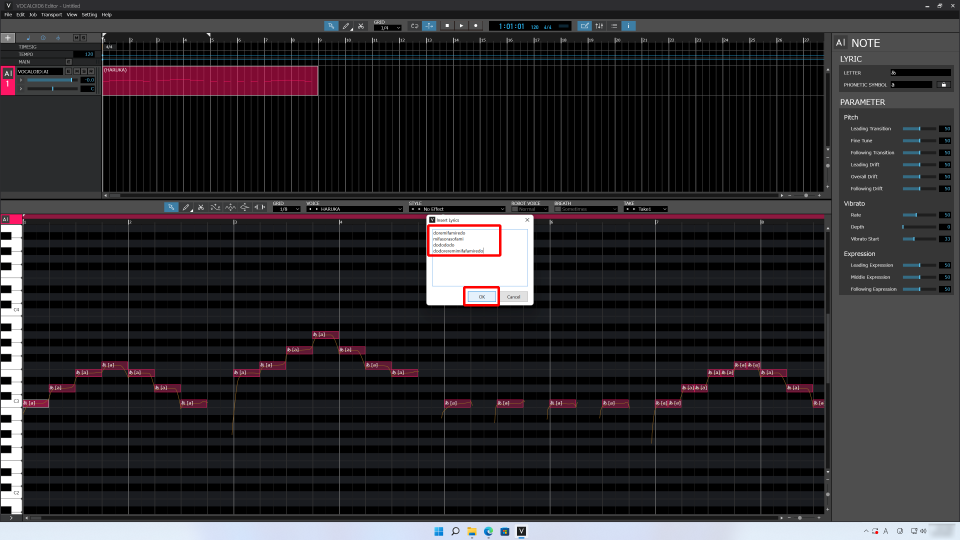
Then, it will automatically assign the lyrics to each note. Can you see that the lyrics have changed? The lyrics are shown on the notes.
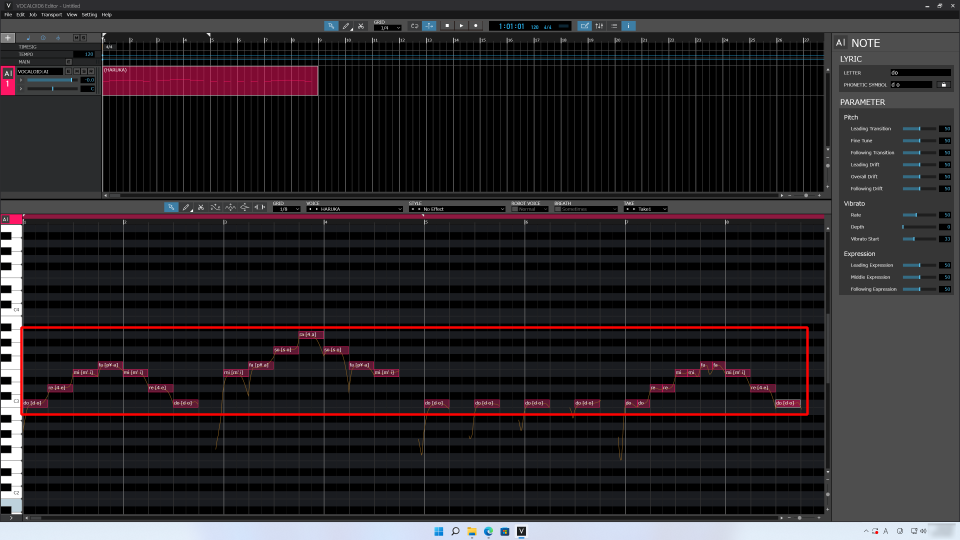
Let's play it from the beginning.
We now have a "Chorus of Frogs" with lyrics!
In this way, you can make a VOCALOID sing using a mouse even if you don't have any musical knowledge and can't play a keyboard.
How to input lyrics one by one
Lyrics can also be entered one character at a time.
If you want to enter lyrics one by one, select the note you want to enter and double-click the lyrics.
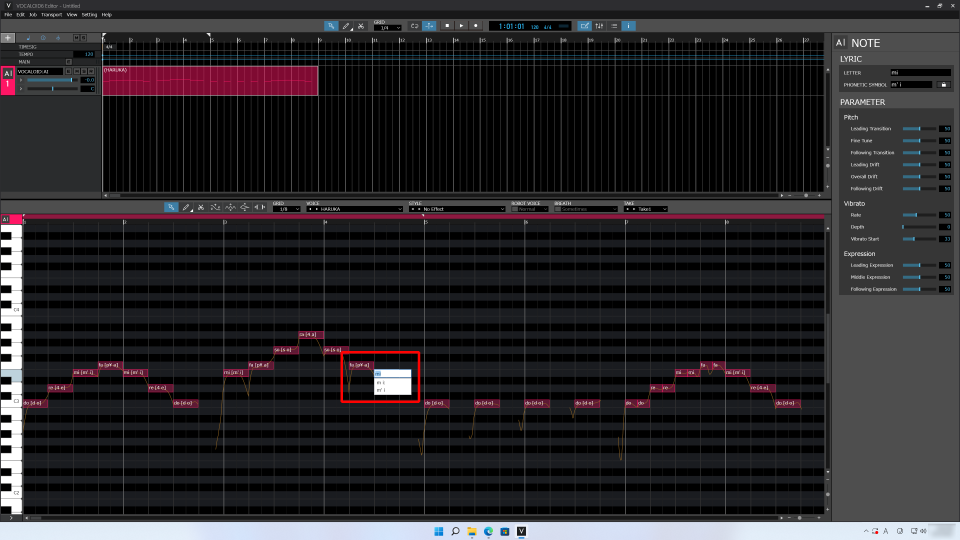
Double-click to enter one character at a time. When the window opens, enter lyrics one by one.
Save the project
Let's save the project after finishing input.
Saving is the same as with other software. Save by selecting "Save" from the "File" menu. If you have not named the project, give it a name of your choice and save it. I will name it "Chorus of Frogs No 1".
After entering a name, click "Save".
Thank you for reading!
In the next article, we will edit the entered data. This part will be fun, so please check it too. See you soon.